



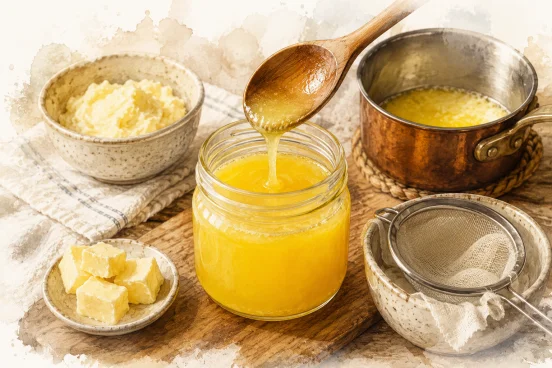
There is one ingredient that runs through all of Indian cooking, from breakfast to dinner, from the icy heights of Kashmir to the tropical coast of Kerala: ghee. This golden clarified butter — at once a food and a remedy — is the cooking fat of choice for generations of Indian cooks. And the good news is that making it yourself is far simpler than you might think.
Ghee is butter cooked slowly until all the water evaporates and the milk solids at the bottom of the pan turn a light golden brown. What remains is pure butterfat, tinted amber and fragrant with roasted hazelnut. In thirty minutes and with a single ingredient, you produce something infinitely better than anything sold in a supermarket.
In every respectable Indian household, a jar of homemade ghee sits on the counter. It is not kept in the refrigerator — it waits there, stable, ready to use. It is a sign of prosperity and care put into cooking.
What exactly is ghee?
Ghee is often described as "clarified butter", but that is not entirely accurate. Regular clarified butter — the kind French cooks use to pan-fry fish — is simply butter from which the water and milk proteins have been removed by decanting. You stop before anything browns.
Ghee goes one step further. The milk solids are left to settle at the bottom and caramelize lightly before being strained out. This extra step is what gives ghee its golden amber colour, its roasted hazelnut aroma and its unique depth of flavour. It is the difference between a pale, neutral fat and something that smells of toffee and fresh hazelnut.
On the practical side, ghee has three decisive advantages over regular butter:
- High smoke point: 250 °C compared to 175 °C for regular butter. Ghee does not burn at high temperatures, making it ideal for stir-frying, deep-frying or making a tadka.
- Shelf-stable: without water or milk proteins, ghee does not go rancid quickly. A well-sealed jar keeps for three months at room temperature and one year in the refrigerator.
- Lactose-free: milk proteins (casein) and lactose are eliminated during cooking. Ghee is therefore often well tolerated by people who are sensitive to dairy products.
Ghee in Indian culture
It would be reductive to see ghee merely as a cooking fat. In India, it holds a sacred place that reaches far beyond the kitchen. In Hindu tradition, ghee is poured into the sacred fire during yajna ceremonies, the rituals of devotion. It anoints the lamps on household altars. It is the purest offering one can consecrate to the deities.
In Ayurvedic medicine, ghee is considered one of the most precious foods. It is said to nourish the deep tissues of the body, lubricate the joints, aid digestion and carry the medicinal properties of herbs all the way to the cells. Ayurvedic tradition distinguishes aged ghee (one year or more) from fresh ghee, each having specific virtues.
In everyday Indian speech, having ghee in your home is synonymous with prosperity. A kitchen that smells of warm ghee is a happy kitchen. This is not mere nostalgia — it is a deep, living relationship with food as care, as culture, as transmission.
The homemade ghee recipe, step by step
Here is everything you need:
- Ingredient: 500 g unsalted butter, good quality, ideally from certified organic suppliers. The quality of the butter comes through directly in the ghee — do not cut corners on this one ingredient.
- Equipment: a heavy-bottomed saucepan (stainless steel or cast iron), a fine strainer or cheesecloth, a clean and completely dry glass jar.
Step 1 — Melt the butter: Cut the butter into even cubes and place in the heavy-bottomed saucepan. Melt over medium heat. Do not cover.
Step 2 — Reduce the heat: Once the butter has fully melted, reduce to the absolute lowest heat possible. This is where patience comes in. Ghee is made on very low heat — never high.
Step 3 — Watch the phases: The butter will first foam abundantly on the surface. This white foam is the milk proteins rising to the top. Do not skim it, do not stir. Let it be.
Tip — alternative method: some cooks prefer to skim off the white foam as it forms during cooking, using a clean spoon. That is perfectly valid and gives a clearer, more translucent ghee — closer to French clarified butter. The trade-off: you lose the toasted-hazelnut note and the amber colour that signal traditional Indian ghee, both of which come precisely from the milk proteins caramelising at the bottom of the pan. If you do skim, be patient — the foam comes back several times before settling for good.
Step 4 — The water evaporates: After a few minutes, the foam turns into more active bubbling — that is the water in the butter evaporating. You will hear a steady crackling. This is normal and exactly what you want.
Step 5 — The quiet at the end: After 15 to 20 minutes, depending on your heat and the quality of the butter, the bubbling will gradually subside. The surface foam becomes thinner and translucent. The liquid takes on a beautiful light gold colour. At the bottom of the pan you will see golden to light-brown deposits — the caramelising milk solids. This is exactly what you want.
Step 6 — The readiness test: The ghee is ready when the bubbles are almost gone, the liquid is perfectly translucent and it gives off a nutty, roasted aroma. If you still hear a lot of crackling, wait. If the colour is heading towards deep amber, remove from the heat immediately — you are on the edge.
Step 7 — Strain and store: Remove from the heat and let rest for 5 minutes. Strain through the cheesecloth or fine strainer into your glass jar. The milk solids stay in the filter. The golden liquid that flows into the jar — that is your ghee. It is liquid when hot and will solidify as it cools, taking on a slightly grainy golden texture — the sign of a well-made ghee.
500 g of butter yields roughly 380 to 400 g of ghee. The water and milk solids account for 15 to 20% of the original butter. Do not worry about this "loss" — it is precisely what is removed that allows ghee to keep for so long.
Tips for perfect ghee
A few simple rules make all the difference between ordinary ghee and excellent ghee:
- Very low heat: This is rule number one. No rushing. Too high a heat burns the milk solids before all the water has evaporated, producing a bitter ghee with scorched residues.
- Do not stir: Leave the ghee alone. Stirring disrupts the natural separation of layers and clouds the liquid. Watch, but do not intervene.
- Read the colours: Pale yellow → light gold → golden amber. Stop at light gold. Deep amber means overcooked. Learn to recognise the shade — after a few batches it becomes instinctive.
- Listen to the sound: Loud crackling means water is still present. When the sound reduces to a soft murmur and then near-silence, the water is gone. That is your signal.
- Smell the aroma: When your kitchen starts to smell of roasted hazelnut and gentle caramel, your ghee is ready. Your nose is your best measuring instrument.
How to use ghee in Indian cooking
Once your homemade ghee is in the jar, the possibilities are many. Here are the most fundamental uses in Indian cuisine:
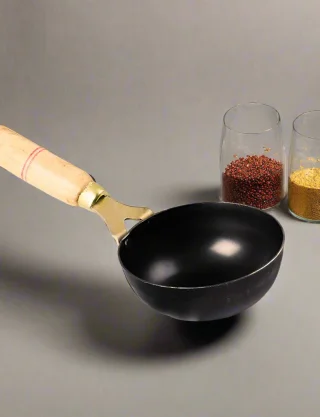
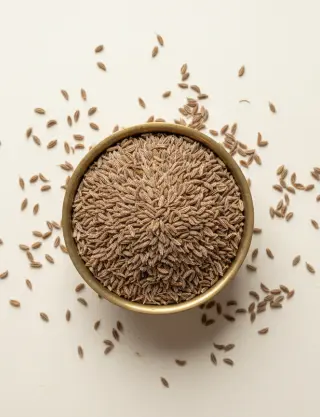
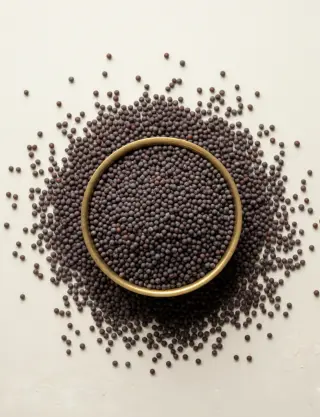
For tadka: Ghee is the reference fat for spice tempering. Heat it in a tadka pan until shimmering, add your cumin seeds or mustard seeds: in a few seconds the spices sizzle and release their aromas into the fat. Pour over your dal or curry — it is the finishing touch that changes everything.
On dal and rice: A spoonful of ghee placed on a bowl of steaming dal tadka or on hot basmati rice is the ultimate Indian comfort food. The ghee melts slowly and coats every grain. Simple, perfect, unforgettable.
On breads: A chapati or naan straight from the heat, brushed generously with ghee — this is one of the greatest simple pleasures of Indian cooking. The ghee seeps into the pores of the hot bread and makes it glossy, soft and delicious.
For frying and sautéing: Thanks to its 250 °C smoke point, ghee is ideal for deep-frying (pakoras, samosas) and high-heat sautéing. It does not burn, does not smoke, and gives foods an incomparable buttery, nutty flavour.
As a substitute for butter: Anywhere you use butter — to sauté onions, to enrich a sauce, to grease a pan — you can substitute ghee in a 1:1 ratio. The result will be more flavourful and far more heat-resistant.
Storage: what you need to know
Ghee's long shelf life — one of its most prized qualities — depends on a single absolute condition: no moisture must enter the jar. This means:
- Dry spoon only: always use a clean, perfectly dry spoon to scoop ghee. A wet spoon introduces water and causes the jar to go mouldy within days.
- Airtight glass jar: glass is ideal (it does not absorb aromas). Make sure the jar is perfectly dry before filling it.
- Shelf life: 3 months at room temperature (away from direct sunlight), 1 year in the refrigerator. If the ghee smells rancid or develops mould, discard it without hesitation.
Ghee and your Table Indienne spices
Homemade ghee comes into its own when paired with quality spices. It is precisely this combination — a pure, nutty ghee and vibrant whole spices — that produces the tadkas you remember for a lifetime. At Table Indienne, our spices are selected for exactly this use: whole, fresh, with maximum aromatic power.
Start with the absolute classic: a spoonful of ghee in your tadka pan, a few cumin seeds sizzling for 30 seconds, poured over a steaming dal tadka or dal makhani. This is the foundation of Indian cooking, within reach of your Alsatian kitchen.
If you are new to Indian cooking, our beginner's guide will help you build your first dishes around ghee, whole spices and dals. Your homemade ghee will be your best ally.